
The potter’s wheel is a fundamental tool in the art of ceramics, allowing artists to shape clay into a variety of forms. It consists of a circular platform that rotates on a central axis, enabling the potter to create well-balanced, visually appealing pottery. Proper preparation of the clay and mastery of centering and shaping techniques are crucial for achieving the desired results. While the potter’s wheel provides the ability to craft intricate pieces, the true magic happens when decorative techniques and glaze are applied, transforming the clay into a stunning work of art. To uncover the secrets of this captivating medium, let’s dive deeper into the world of the potter’s wheel.
Key Points
- The potter’s wheel is a circular platform that rotates on a central axis, enabling the shaping of clay into various forms.
- Proper clay preparation and the use of specialized tools, such as a wedging board, rib tool, and loop tool, are crucial for successful pottery making.
- Centering the clay on the wheel is a critical step that involves positioning and balancing the clay to create a symmetrical cone, allowing for controlled clay movement and thickness.
- The shaping process involves the application of gentle pressure and skillful guidance to transform the clay into a beautifully sculpted ceramic vessel, requiring practice and patience.
- Finishing techniques, such as carving patterns, applying colorful glazes, and incorporating complementary accents, allow potters to imbue their artistic vision into the final piece.
The Potter’s Wheel
The potter’s wheel is a circular platform that rotates on a central axis, allowing the potter to shape clay into various forms through the application of pressure and manipulation.
This essential tool has been used for centuries, enabling potters to create a wide range of ceramic objects, from simple bowls to intricate vases.
The wheel’s rotation provides the potter with the ability to control the speed, pressure, and position of the clay, allowing them to achieve the desired shape and form.
You can also read our reviews of more tours and experiences in England.
Clay Preparation and Tools
Before starting to work on the potter’s wheel, potters must properly prepare the clay and gather the necessary tools.
Clay comes in various types, each with unique properties and requirements for preparation.
Alongside the clay, potters utilize an array of specialized hand tools to shape, trim, and finish their creations on the wheel.
The basic tools include a wedging board to knead and deair the clay, a rib to smooth the surface, a loop tool for trimming, and a needle tool for detailing.
Potters may also employ sponges, water sprays, and profiles for shaping the clay.
Proper preparation and tool selection are crucial for producing well-formed, structurally sound pottery pieces on the wheel.
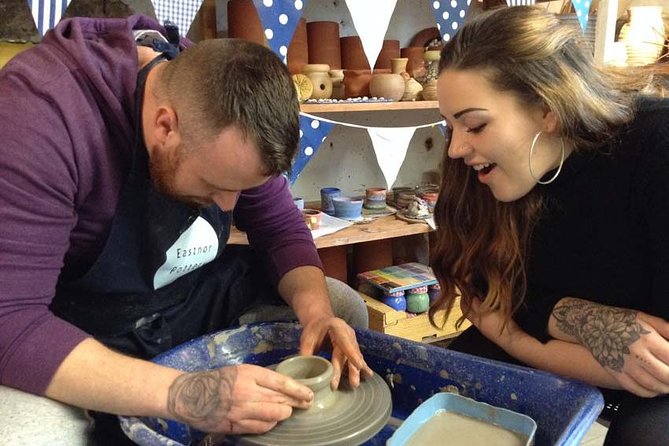
Centering the Clay
Once the clay is properly prepared, the next critical step in using the potter’s wheel is centering the clay.
Centering involves carefully positioning and balancing the clay on the wheel’s spinning surface, a skill that takes practice to master. This step lays the foundation for the entire pottery-making process, ensuring the clay is evenly distributed and ready to be shaped into the desired form.
The potter must apply gentle, even pressure to the clay while the wheel is spinning, gradually shaping it into a symmetrical, centered cone. This precise centering allows the potter to control the clay’s movement and thickness as they begin to shape the piece.
Proper centering is essential for creating well-balanced, visually appealing pottery.
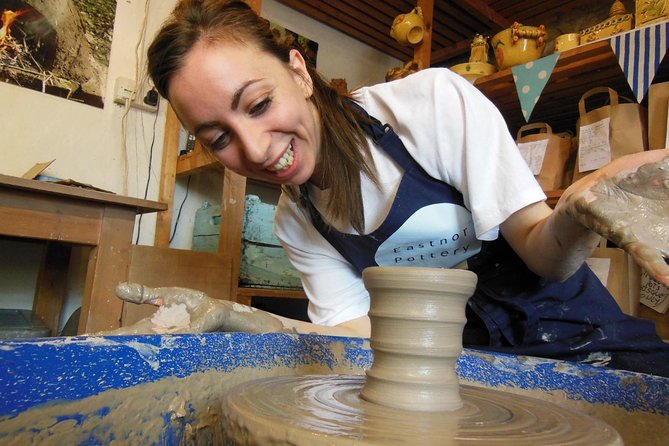
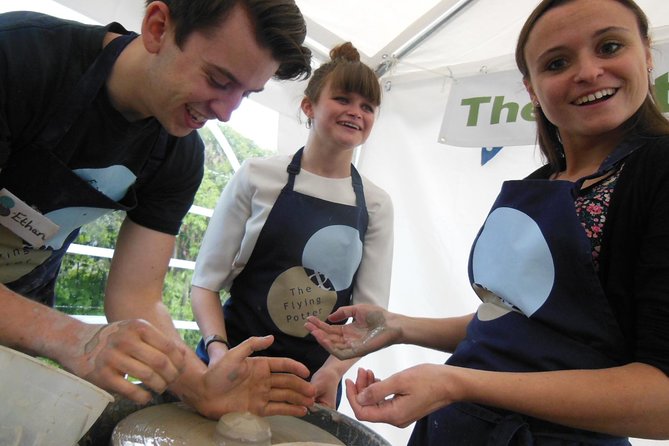
Shaping the Vessel
Typically, once the clay is properly centered on the potter’s wheel, the shaping process begins.
With their hands firmly on the spinning clay, the potter gently applies pressure, skillfully guiding the material into the desired form. This stage requires a delicate touch and a keen eye, as the potter must maintain an even distribution of pressure to create the symmetrical curves and contours of the vessel.
As the clay rises and takes shape, the potter may periodically re-center the piece, ensuring it maintains its balance and structural integrity.
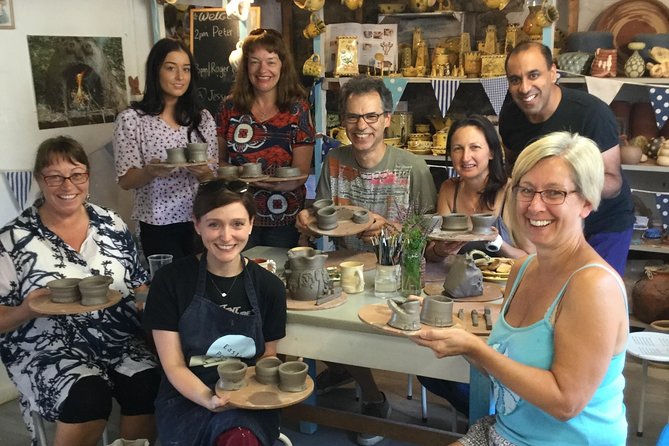
With practice and patience, the potter can transform the simple lump of clay into a beautifully sculpted ceramic vessel, ready to be finished and fired.
Finishing Techniques
With the shaping process complete, the potter turns their attention to the final decorative touches that will give the ceramic vessel its unique character. Depending on the intended use and desired aesthetic, they may employ various surface-finishing techniques to enhance the piece, such as carving intricate patterns, applying colorful glazes, or adding complementary accents.
| Finishing Technique | Description | Example |
|---|---|---|
| Carving | Sculpting designs into the clay surface | Geometric motifs, nature-inspired patterns |
| Glazing | Applying a vitreous coating to the vessel | Glossy, matte, or textured finishes in a variety of colors |
| Accents | Incorporating additional elements | Handles, spouts, lids, or decorative attachments |
These final steps allow the potter to imbue the piece with their artistic vision, transforming a simple clay form into a truly one-of-a-kind work of functional art.
Drying and Firing
After the shaping process is complete, the potter must carefully dry the ceramic vessel before it can undergo the crucial firing stage. This drying phase allows the water content within the clay to gradually evaporate, ensuring the piece retains its structural integrity and prepares it for the intense heat of the kiln.
The drying process typically involves several steps:
- Air-drying: The piece is left to dry at room temperature, often on a flat surface or rack, allowing the moisture to slowly dissipate.
- Controlled drying: The piece may be placed in a drying cabinet or room with regulated temperature and humidity to ensure a consistent, even drying process.
- Bisque firing: Once the piece is bone-dry, it can be fired at a lower temperature to harden the clay and remove any remaining moisture.
- Glazing: After the bisque firing, the piece may be coated with a glaze and fired again at a higher temperature to fuse the glaze to the surface.
Glazing Options
Once the clay has been bisque fired, potters can explore a variety of glazing options to enhance the appearance and functionality of their ceramic creations. Glazes come in a wide range of colors, textures, and finishes, allowing artists to personalize their work. The table below outlines some common glazing techniques:
| Technique | Description | Finish |
|---|---|---|
| Dipping | Submerging the piece in liquid glaze | Smooth, uniform coverage |
| Spraying | Applying glaze with a spray gun | Varied, textured patterns |
| Brushing | Painting glaze directly on the surface | Unique, expressive designs |
| Sponging | Dabbing on glaze with a sponge | Subtle, mottled effects |
These versatile glazing methods enable potters to transform their functional and decorative ceramics, elevating them from simple clay to one-of-a-kind works of art.
Booking and Meeting Details
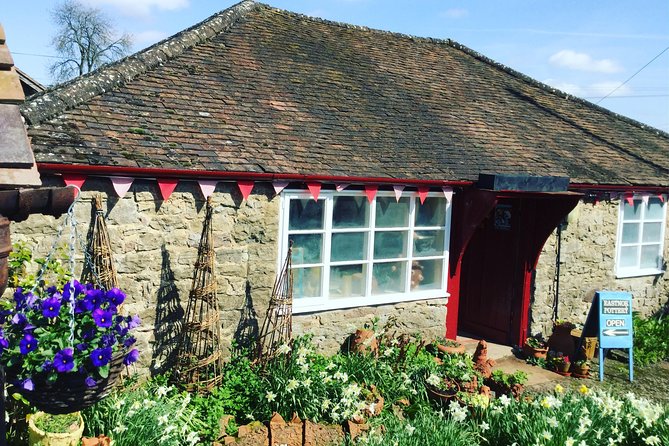
Visitors can meet at the main gates of Eastnor Castle, where they’ll turn off the main road into the village and keep the local school and village green to their right, before following signs for the Pottery.
The experience takes place at Eastnor Pottery & The Flying Potter, located at Home Farm, Clenchers Mill Ln, Eastnor, Ledbury HR8 1RD, UK.
To book the experience, visitors can choose from the following options:
- Allow the clay to be reused
- Take the creation home to air dry
- Have it professionally fired and glazed for an additional fee
- Cancellations are eligible for a full refund up to 24 hours before the experience starts.
Frequently Asked Questions
Can I Take My Creation Home After the Class?
Yes, you can take your creation home after the class. The overview states that participants have the option to take their pottery piece home to air dry after the session.
Is There an Age Limit or Minimum Age Requirement?
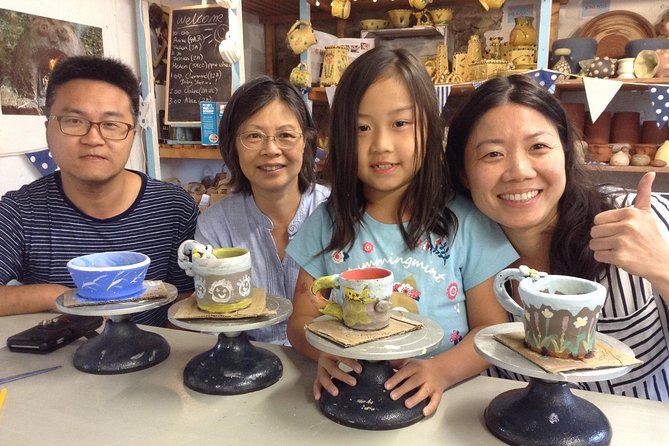
There is no age limit or minimum age requirement for this experience. It’s suitable for total beginners and those with some experience, allowing participants of all ages to enjoy creating on the potter’s wheel.
Can I Bring My Own Tools or Materials?
Participants can’t bring their own tools or materials. The experience provides all necessary clay and hand tools. However, they may be able to take their creation home to air dry or have it professionally fired and glazed for an additional fee.
How Much Clay Is Included in the Experience?
The pottery experience includes a generous amount of clay for participants to use on the potter’s wheel. The exact quantity is not specified, but it’s enough for attendees to create a personalized pottery piece during the 90-minute session.
Is It Possible to Have My Creation Professionally Fired and Glazed?
Yes, participants can opt to have their creation professionally fired and glazed for an additional fee. The experience includes clay and tools, but taking the finished piece home requires this extra firing and glazing service.
Recap
The potter’s wheel is a versatile tool that allows ceramic artists to create a wide range of forms.
Proper clay preparation, centering techniques, and shaping methods are essential for producing visually appealing pottery.
With practice, potters can master the use of the wheel and enhance their creations through decorative techniques and glazing.
Mastering the potter’s wheel is a crucial skill for aspiring ceramic artists.
More Tour Reviews in England
- Private Tour Harry Potter of Warner Brothers Studio From London
- The Slow Food Capital of England: A Self-Guided Tour in Ludlow
- The Roaches Ridge and Eerie Lud’s Church, Leek
- One Hours Floatation Experience – Relax and Unwind…
- Private Deer Park Tour and Day Out in Leek
- London: Weekend Sculpture Workshop With Coffee and Snacks
Not for you? Here's more things to do in England we have recnetly reviewed
- Admission Tickets
- Beginner Outdoor Bouldering Course
- Private Transfer From Frodsham to Manchester Airport (Man)
- Scavenger Hunt in Stoke-on-Trent by Operation City Quest
- Private Transfer From Skelmersdale to Manchester Airport (Man)
- 1 Hour Archery Experience in Hereford
- Zombie Scavengers Game – Burton-on-Trent, UK
- The Hidden Nature Trail to Tittesworth Reservoir and Beyond
- Private Transfer From Rawtenstall to Manchester Airport (Man)
- Private Transfer From Manchester Airport (Man) to Middlewich
- Operation City Quest Scavenger Hunt – Burton Upon Trent, UK
- Afternoon Tea